Creating a Floating Desk for a Kids' Study
I'm SO excited to get to finally share this room! It's been a work in progress for awhile, and we are finally done with it. I love how it all came together, and the best part is that the girls do, too.

First, let me start with the reason for this room. We have three bedrooms upstairs, and the three big girls ended up sharing one of them, Marjorie, the baby, has one, and that left one open bedroom. Originally I had planned to keep it as a guest room, but after living here for a year, no one has slept in it. We have another guest space in the basement, and if the girls have friends stay over, they just want to sleep in a sleeping bag in their room, so really it was a waste of valuable real estate. Here is the before of this room (can you believe it?):
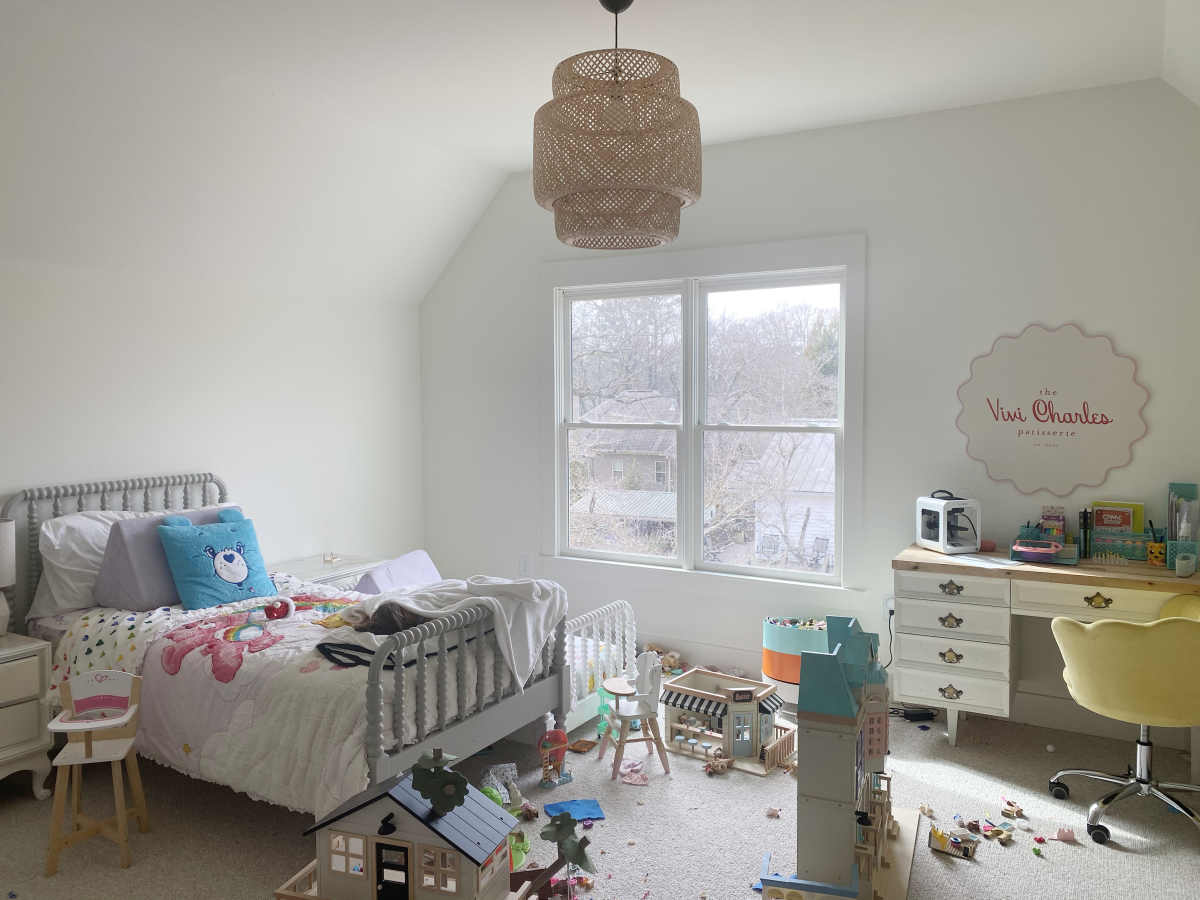
The room had turned into a crazy, disorganized catch all. With a toddler on the loose, this was the one room where the big girls could shut the door and play without her "disassembling" everything. I kept talking about coming up with a better plan, and Chip suggested we call it "The Girls' Study," which I thought was the perfect name. I love having my girls share a bedroom, but it's also fun to create alternate spaces where they can retreat when needed for a little quiet. I have a feeling this room will be one of those.
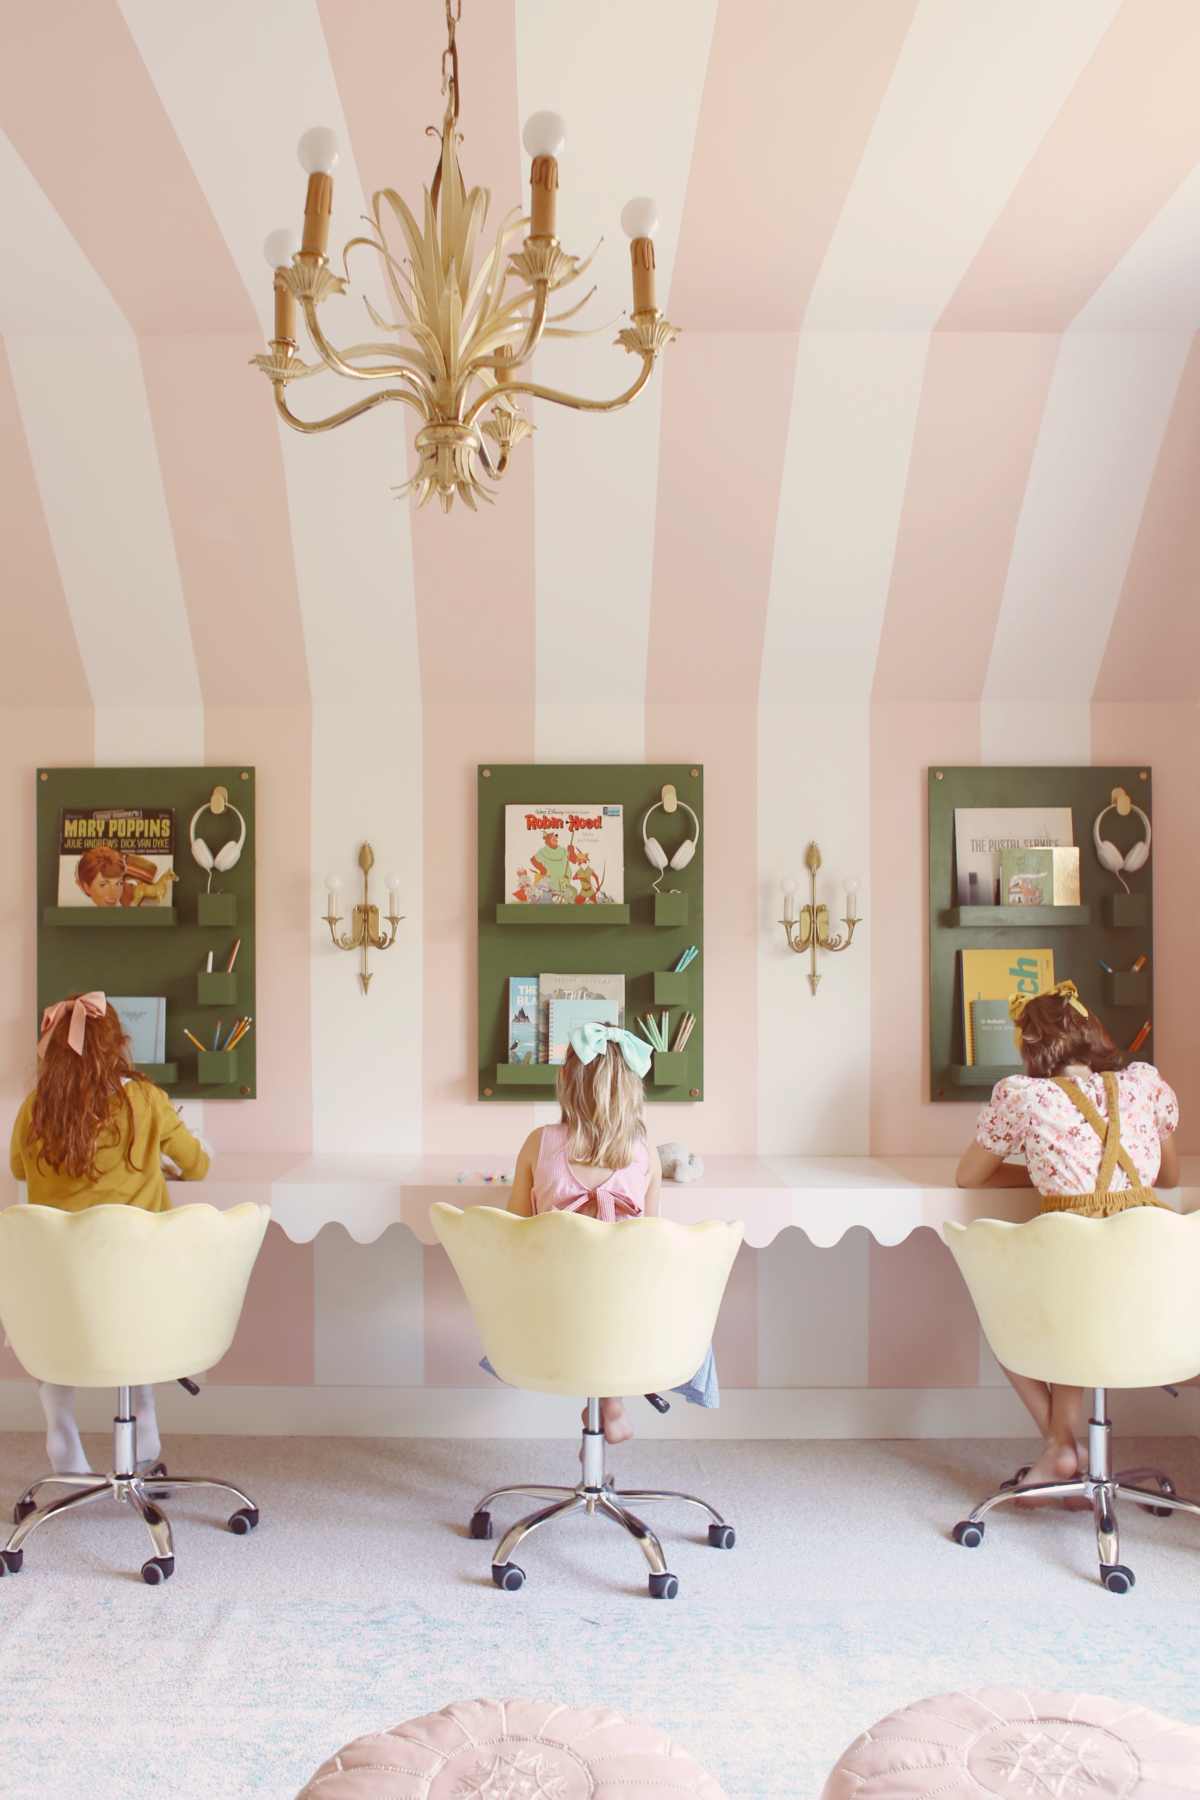
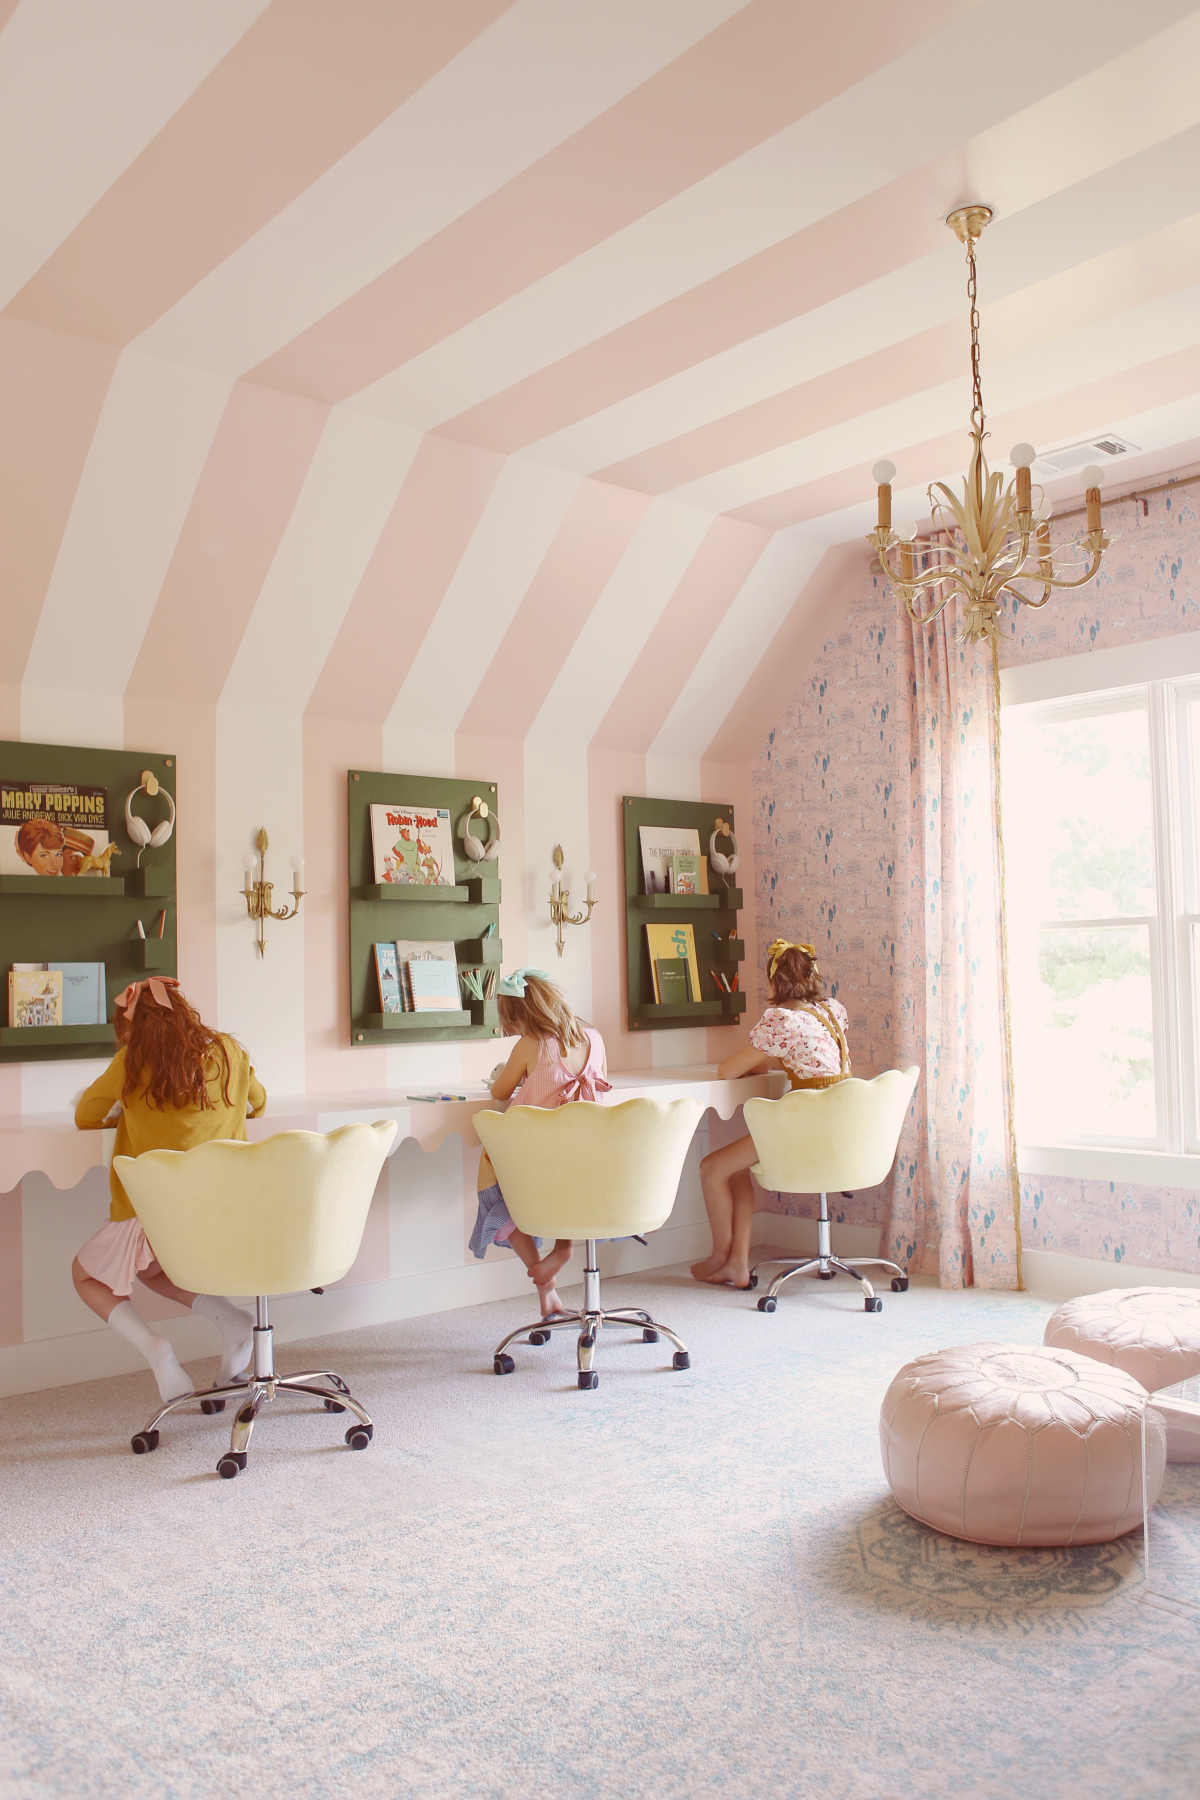
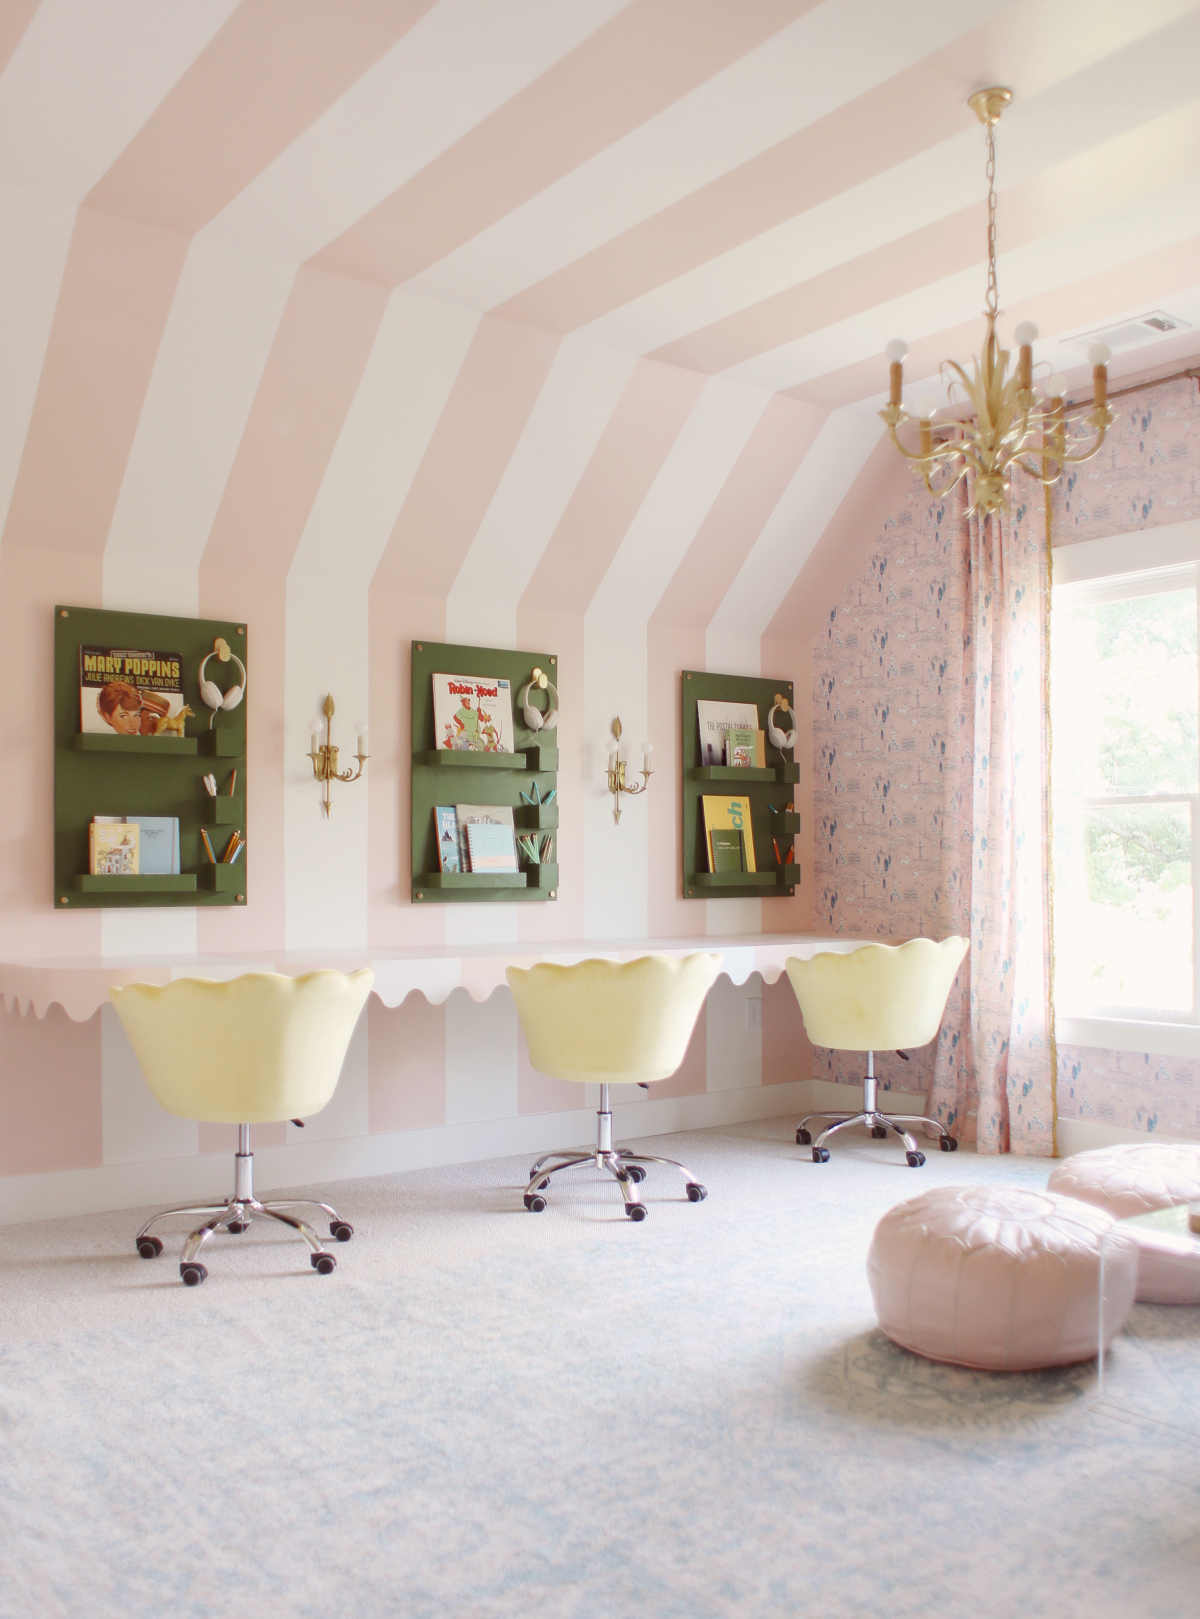
The design started with this wallpaper from Spoonflower. They reached out to collaborate, and offered wallpaper and curtains for one of the walls. Brigette insisted the pattern had to have animals in it, so I selected this toile that felt traditional with a playful twist. To make it feel less like an "accent wall", I decided to add a wide stripe across the rest of the walls, which really does such a great job of accentuating the shape of the room. I think the stripes make the angled ceiling so much more interesting! We also used a semi gloss paint, so they reflect the light really beautifully. (Also, p.s. I'm in love with this laser tool that will suction itself to the wall, enabling you to tape a perfectly straight line. It made this process a million times easier. These stripes are 12" wide, and the pink color is Quaint Peche by Sherwin Williams.)
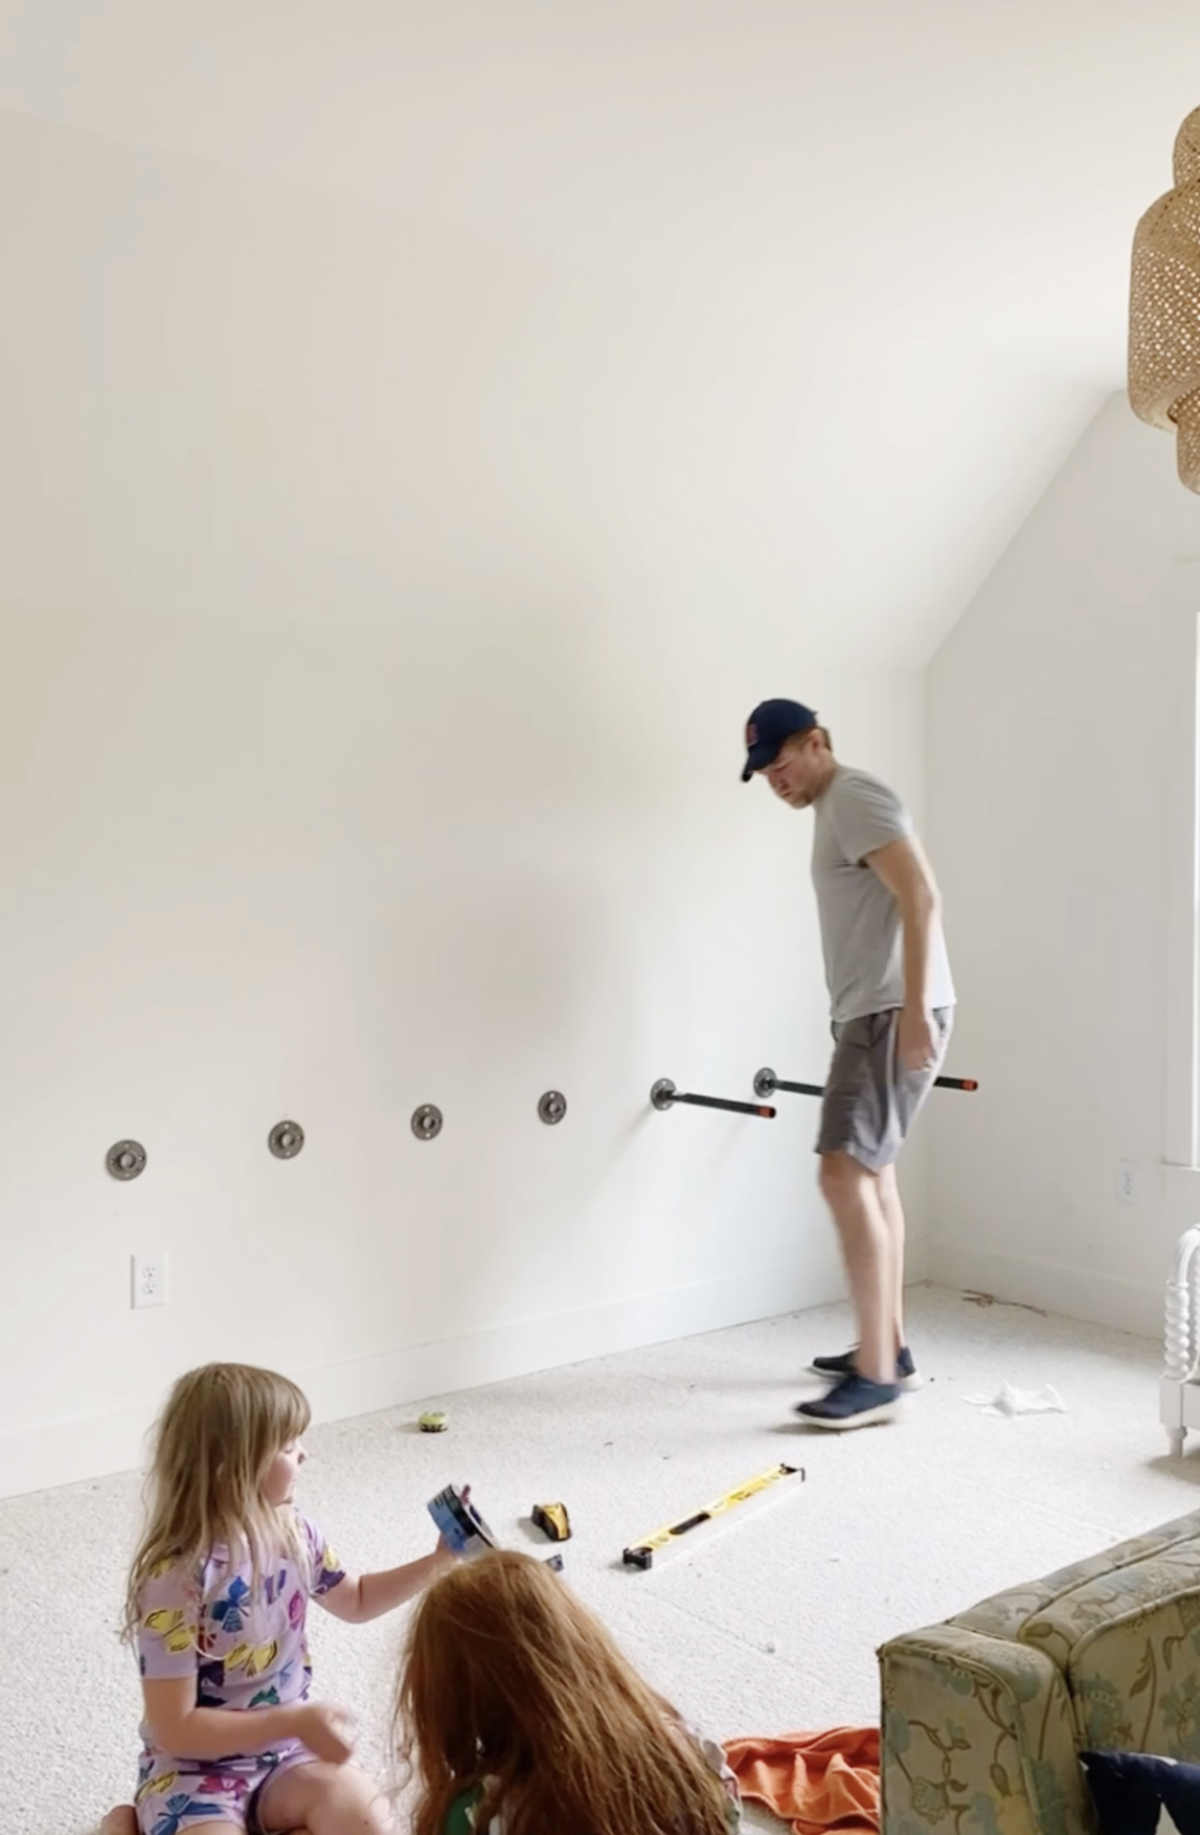
To create the floating desk, Chip installed this pipe and pipe flanges along the wall on the studs. Below is a terrible photo to illustrate - but hopefully it gives you a picture:
The desk is assembled from 1/2" birch plywood (24" deep) that Chip cut to size, and then cut the rounded edge with the jigsaw. The front scalloped trim is 1/4" plywood. I printed out the scallop shape, Chip traced it and cut it with the jigsaw, and then he made tiny cuts on the inside so that it would bend on that corner, and then he soaked it in the tub for about an hour to make it extra bendy before tacking it to the front of the desk with a brad gun.
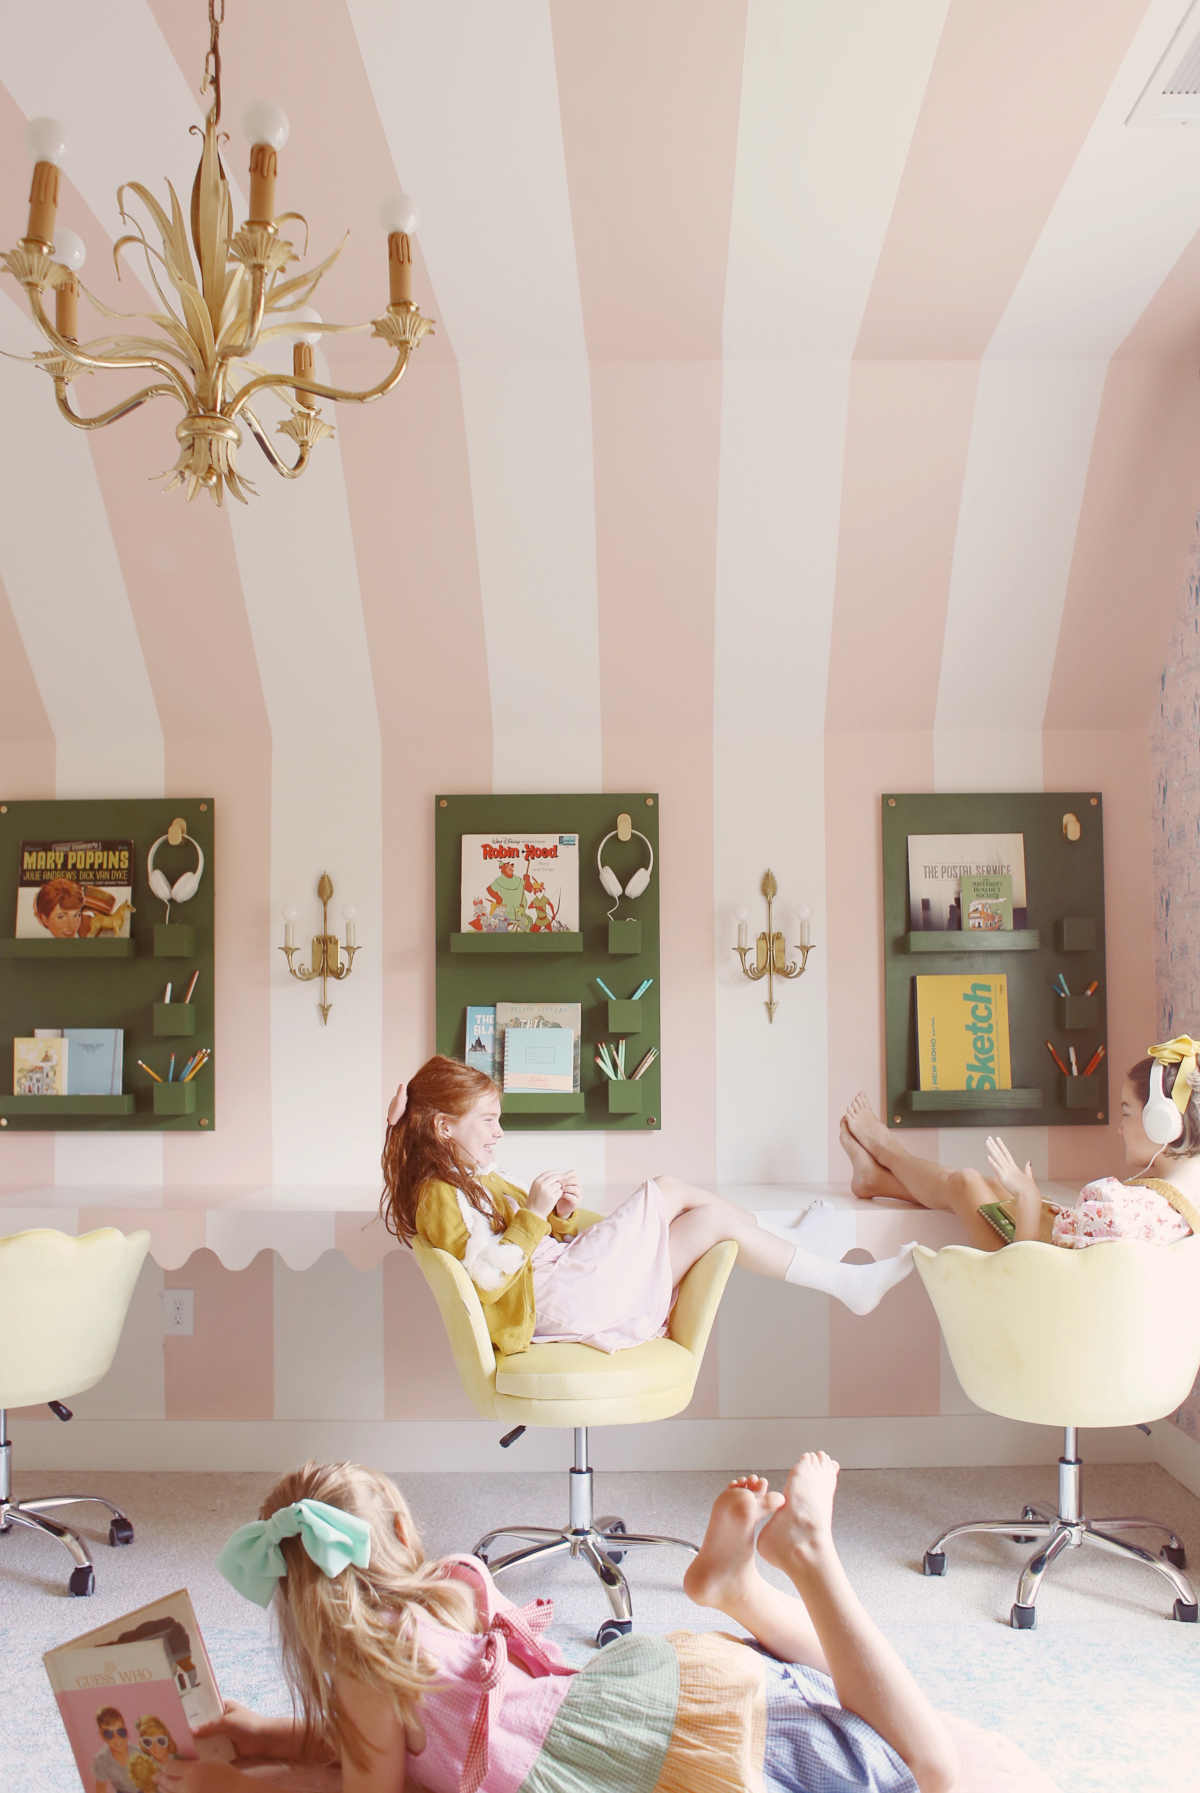
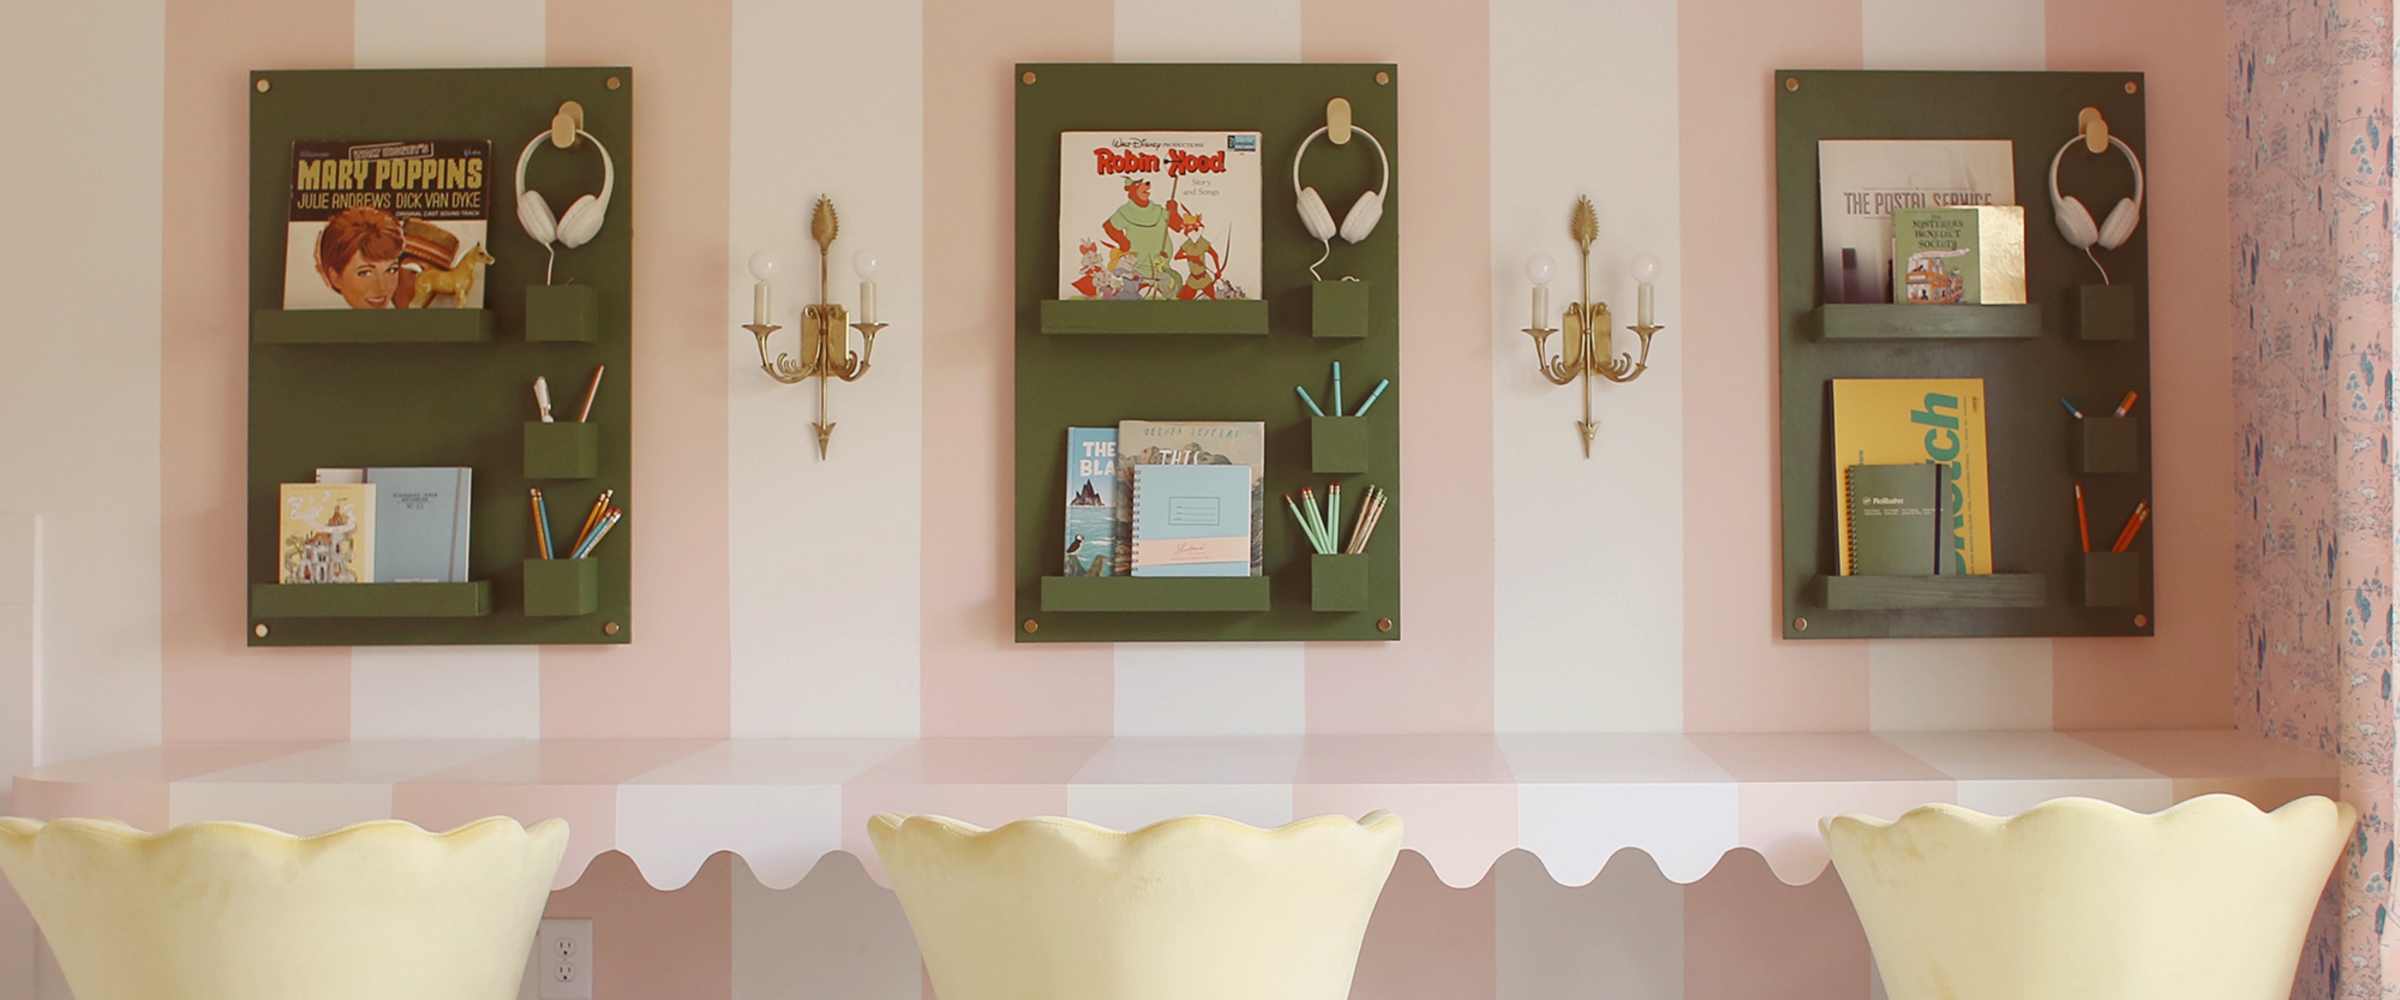
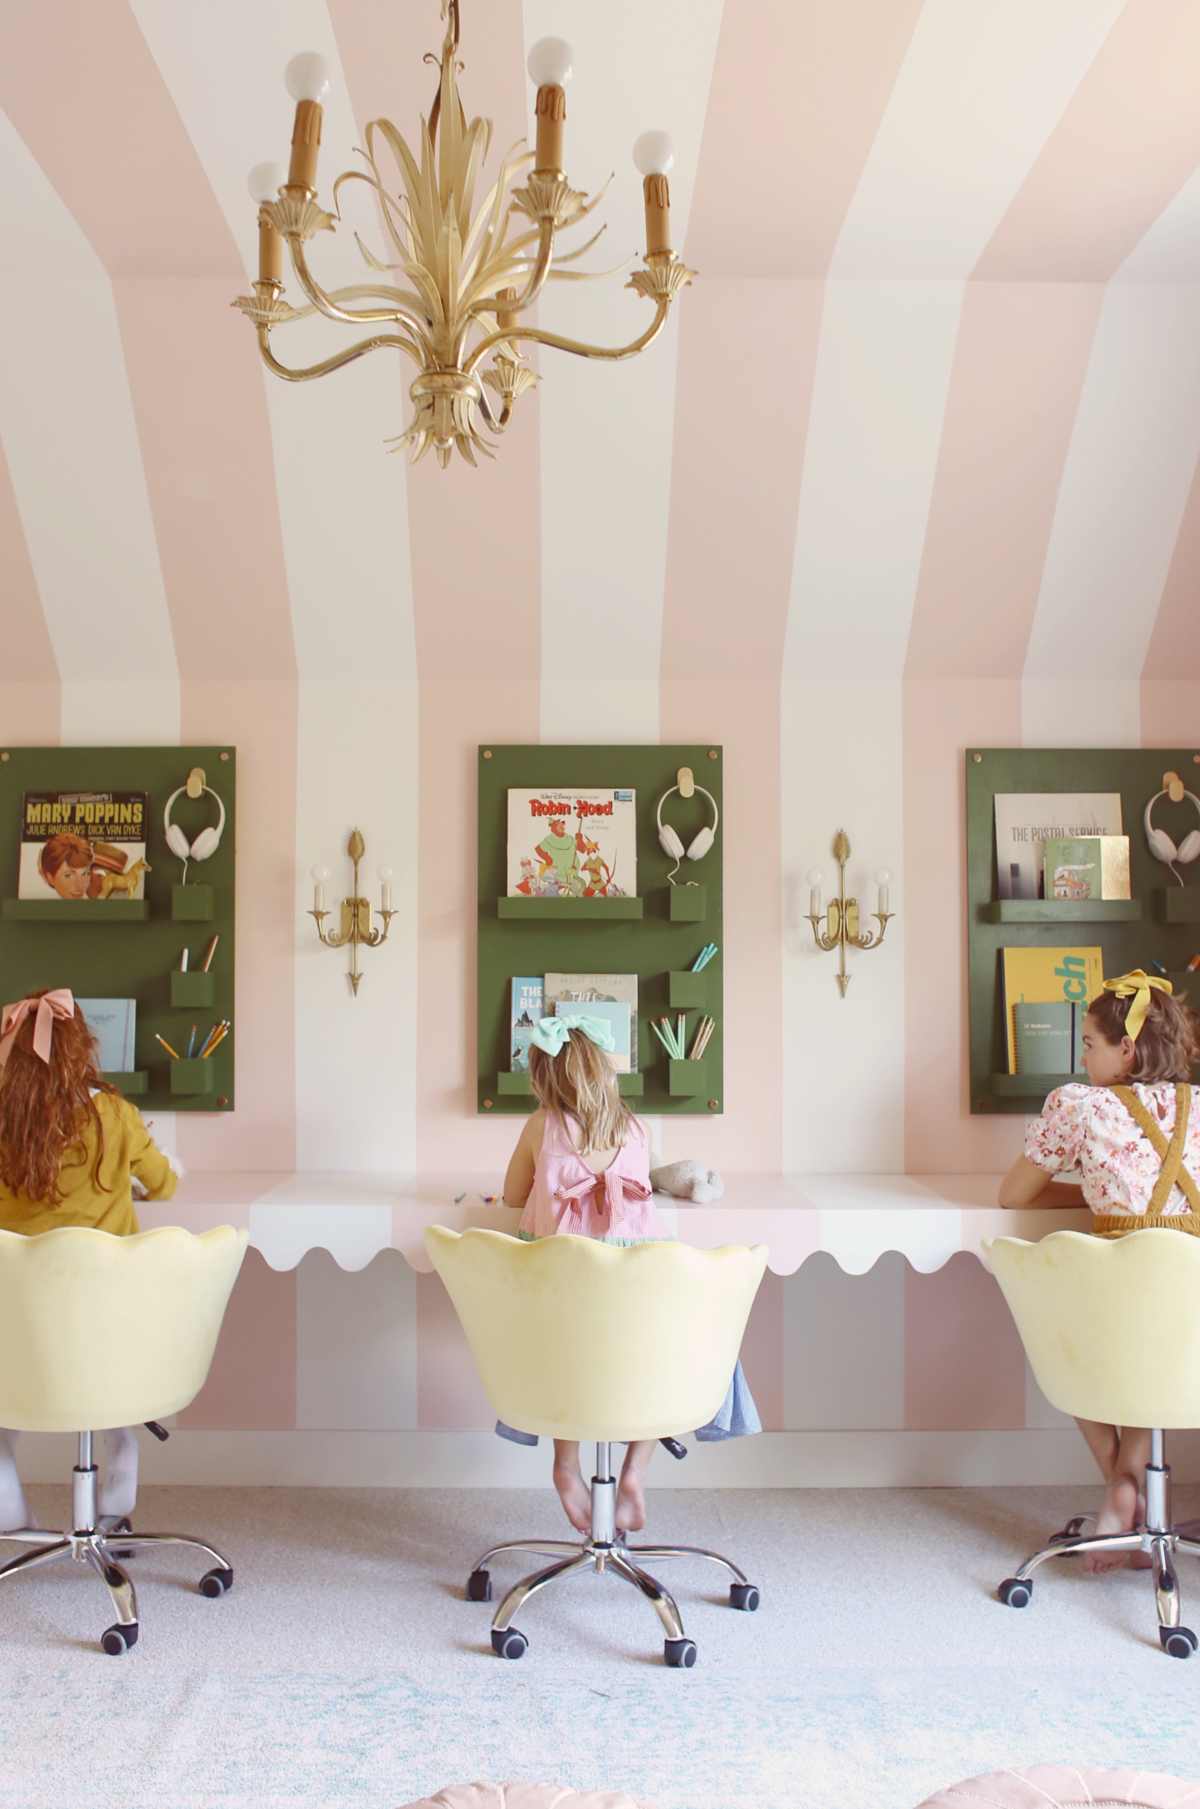
The next piece of custom work is the organizers above the desk. I have love love loved this image of Good Records in Dallas for quite awhile, and thought it would be the perfect look for what we needed. Chip cut down 24" x 36" pieces of birch plywood and then attached two of these and three of these to each board with brads. We used this towel hook for the headphones (they fit exactly into it - like they were made to go together!). The finishing touch is attaching them to the wall using these brass standoffs in the corners to attach them to the wall (Chip also put two small strips of wood behind the boards, drilled into the studs, to make sure they are super secure).
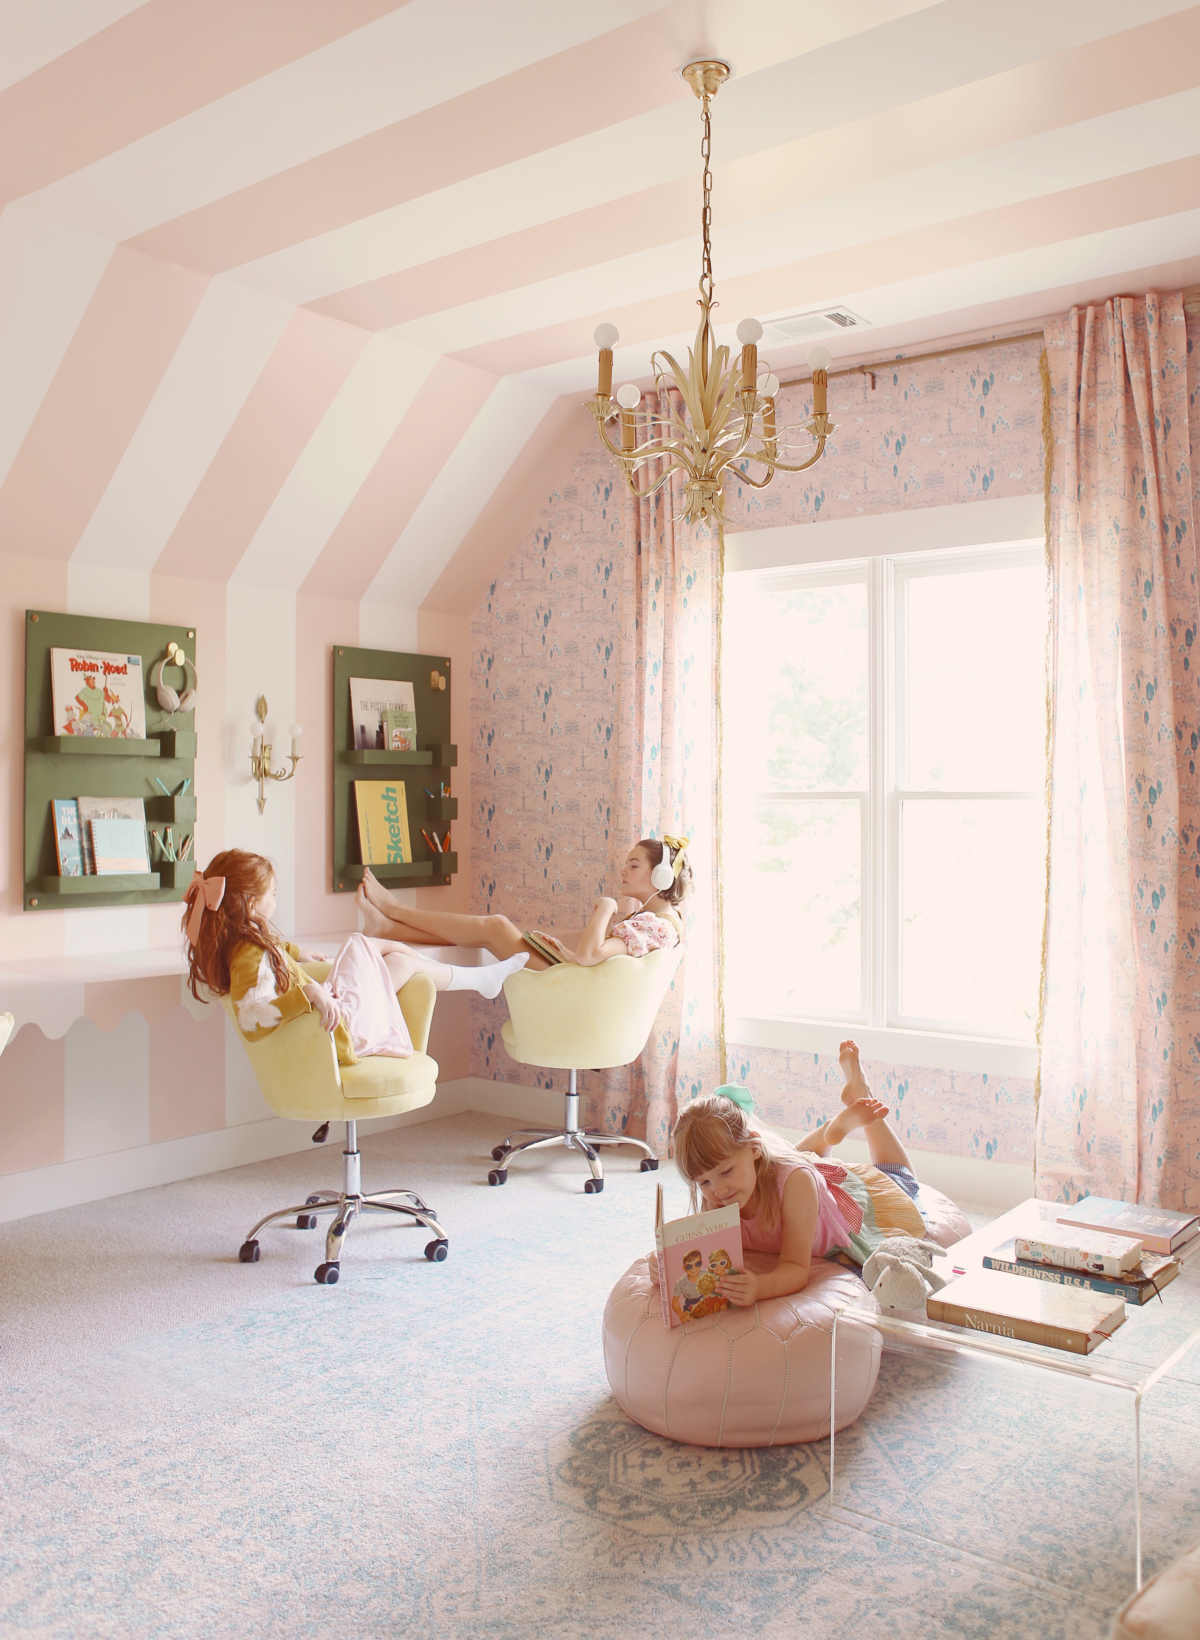
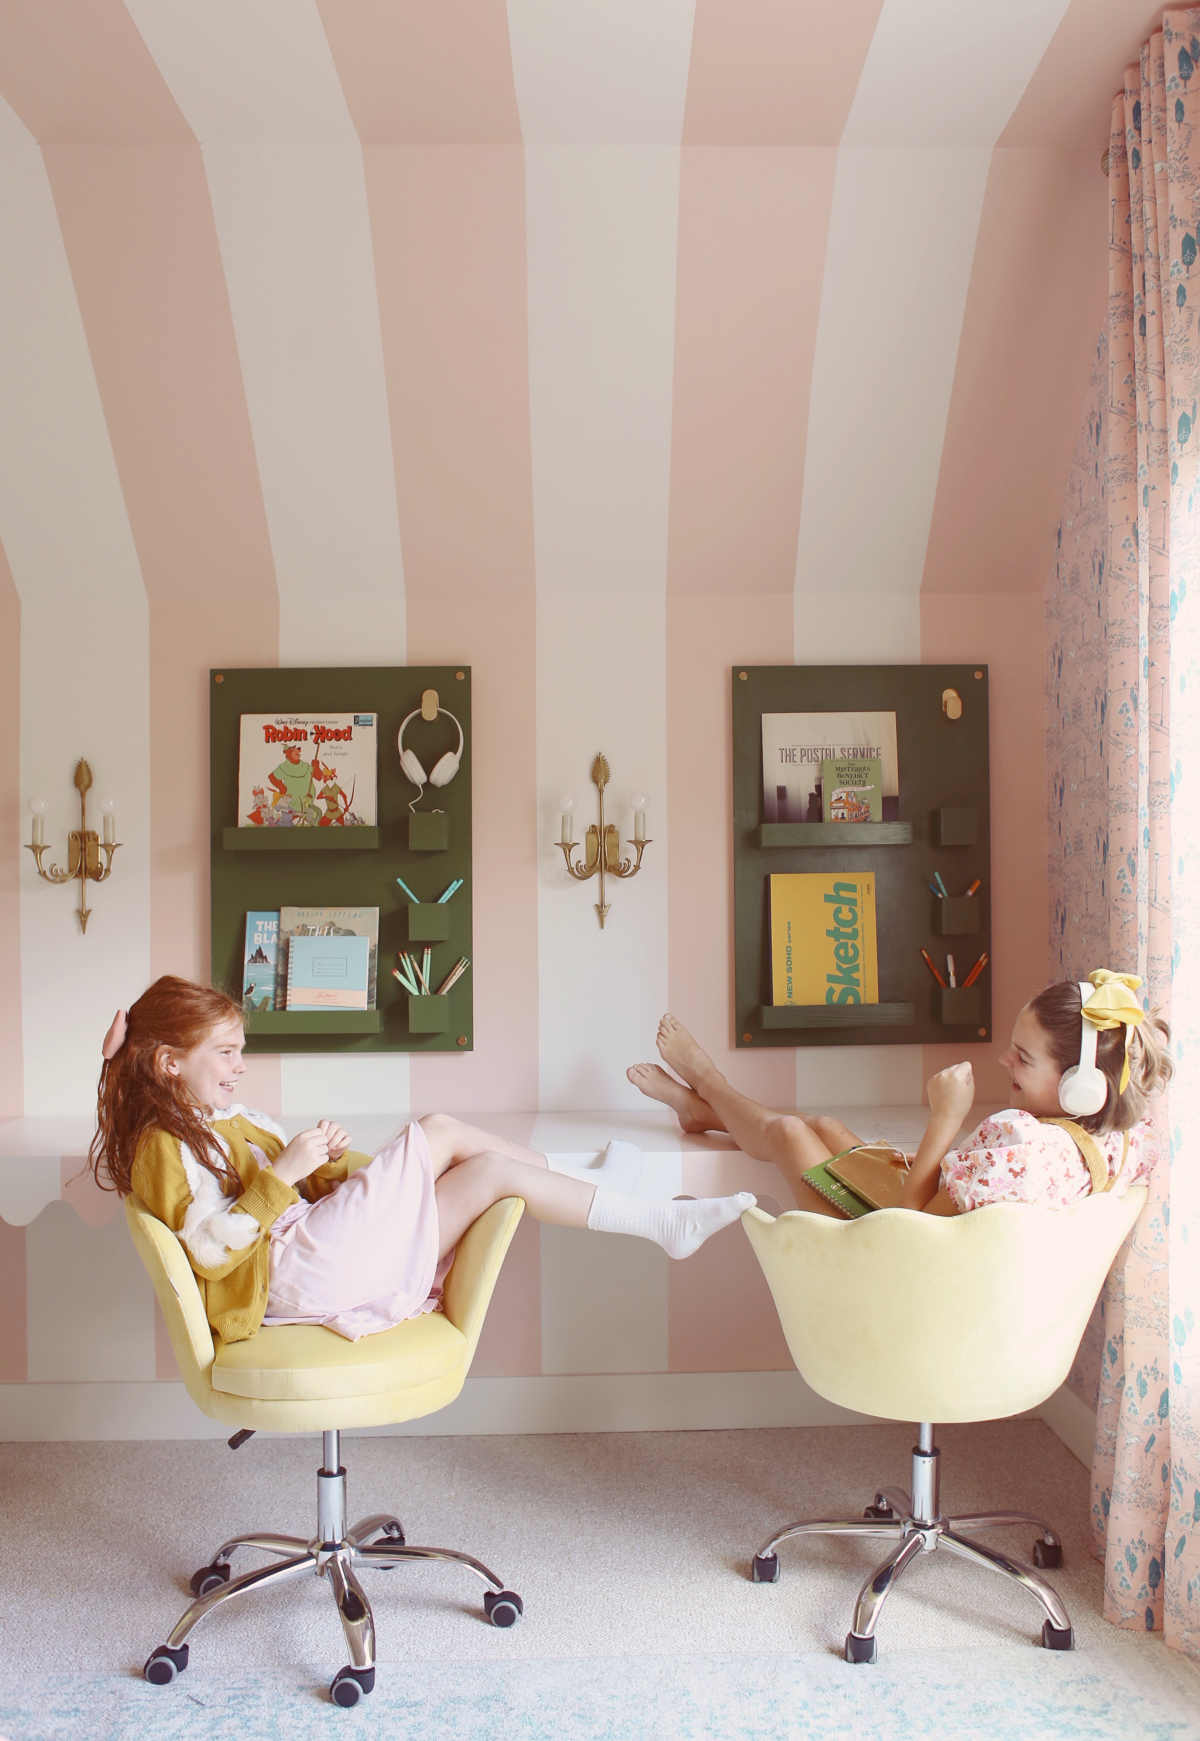
I was a little worried the organizers would feel too plain, but they are really the perfect graphic pop against the stripes. I used semi gloss green paint (Inverness by Sherwin Williams) to finish them off, and I love them so much.
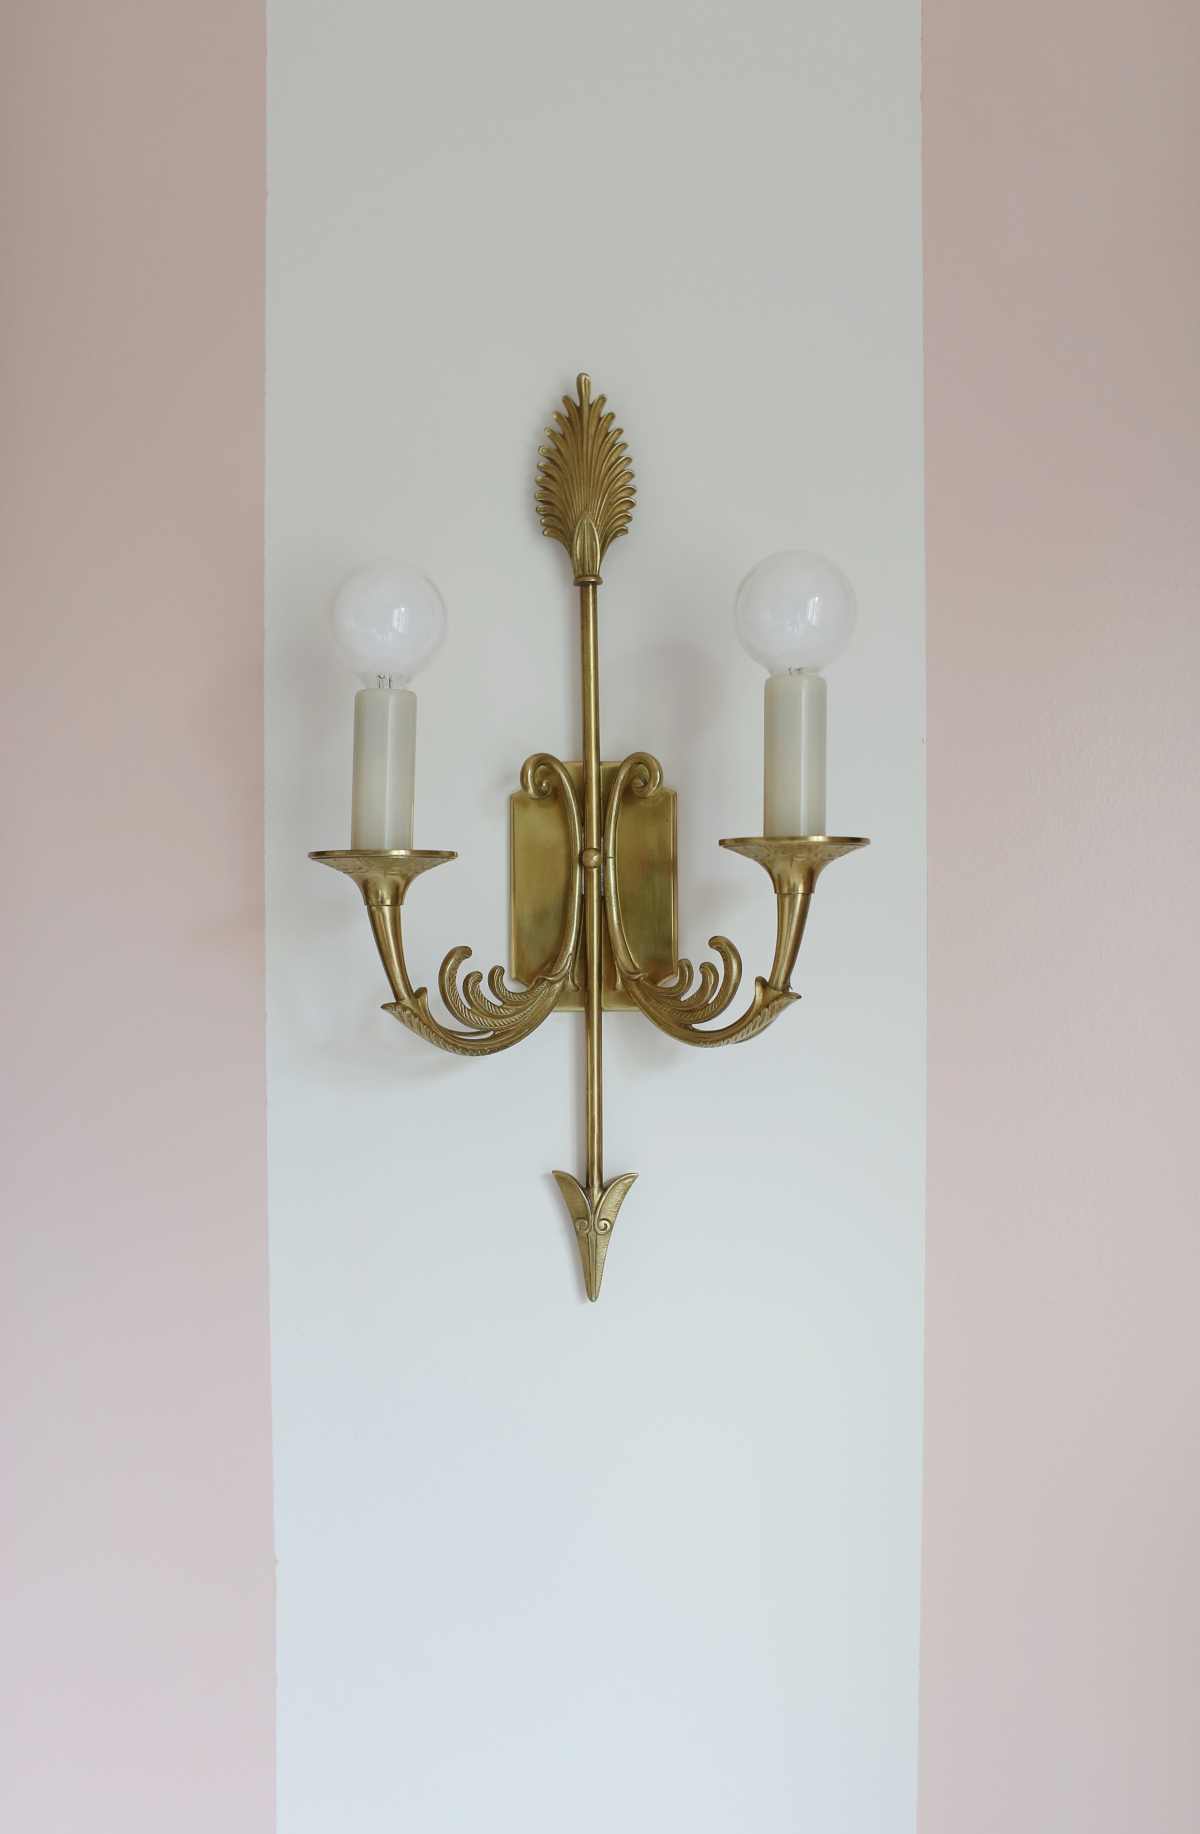
One of my favorite details is this pair of vintage brass sconces. I found them on etsy (just search for "vintage brass sconce pair" and you may have to scroll a bit, or check back every so often, but you will likely come across your own set that is perfectly one of a kind!).
Those are the details! (And also, how sweet are the scalloped chairs with the scalloped desk?) I'll be sharing photos of the rest of the space shortly!


Discussion